
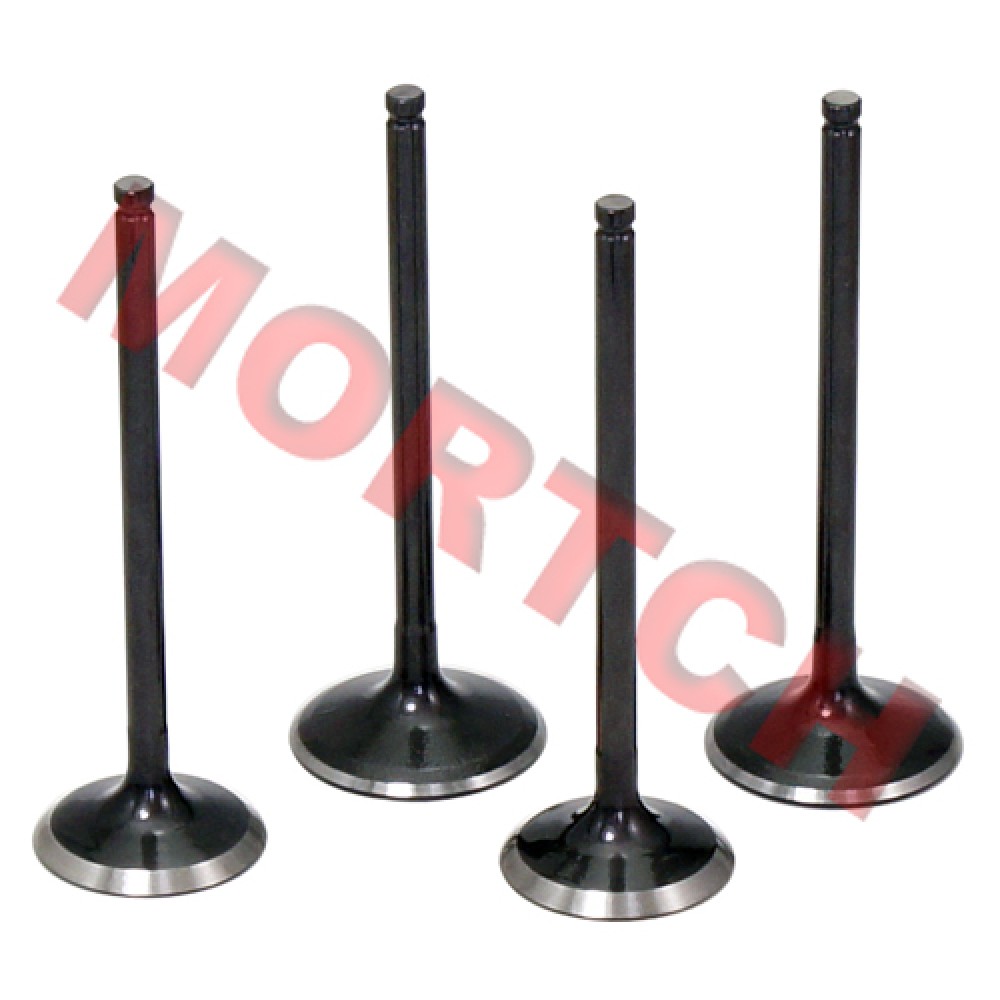
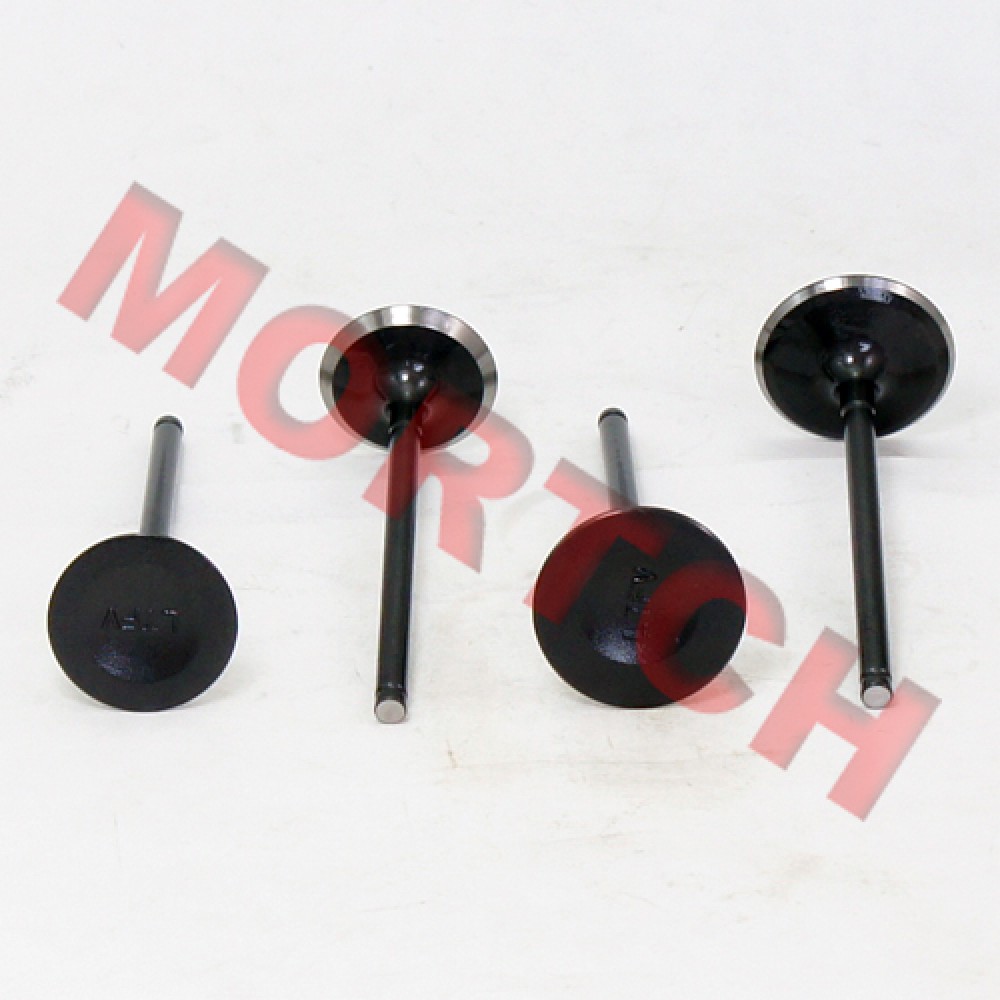
Inlet/Exhaust Valve
- Brand: Mortch Motor
- Product Code: MICF0600-02200A
- Product Viewed: 1084
- Availability: In Stock
- Weight: 0.15kg
US$25.34 14 SOLD
| Shipping To: |
CF Moto Inlet & Exhaust Valve Set
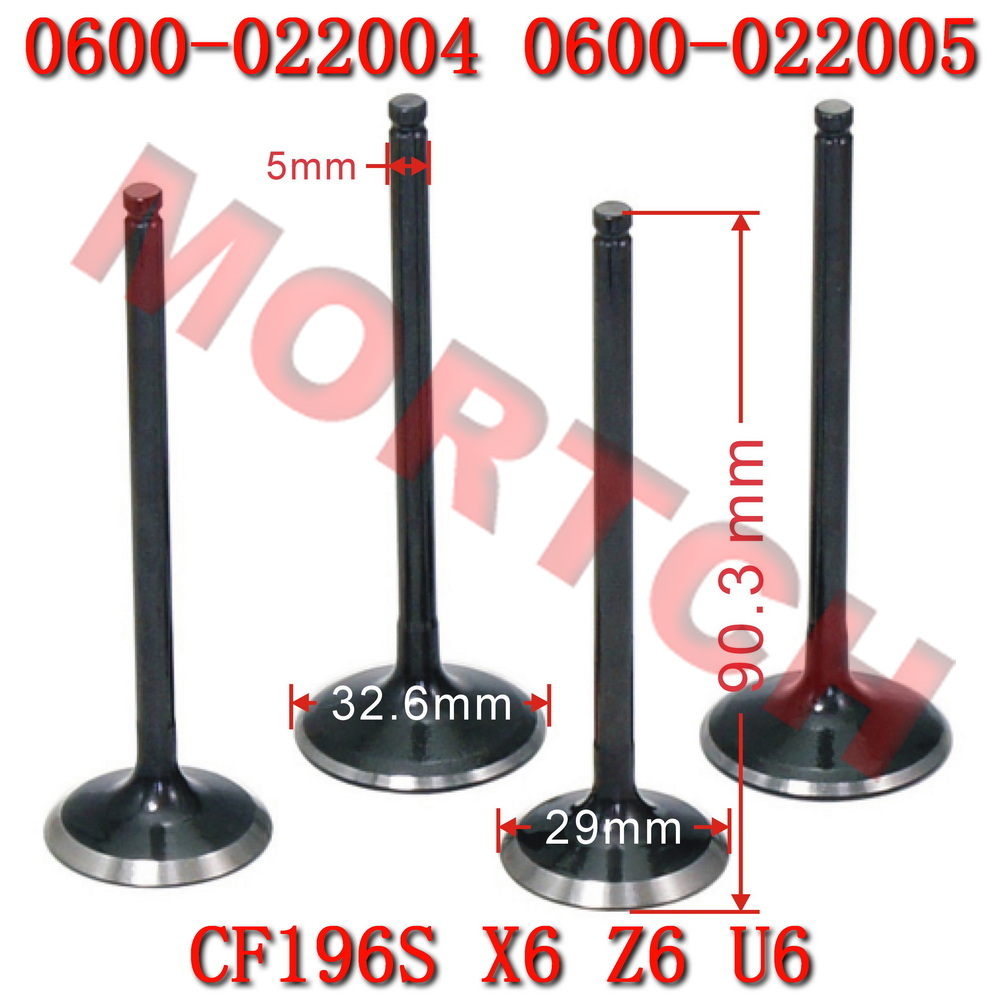
Intake Valve: 0600-022004 | Exhaust Valve: 0600-022005
Specifications: Length 90.5mm/90.3mm | Stem Diameter 5mm | Head Diameter 32.6mm/29mm
Kit Contents: Intake Valve 2pcs + Exhaust Valve 2pcs (4pcs/Pack)
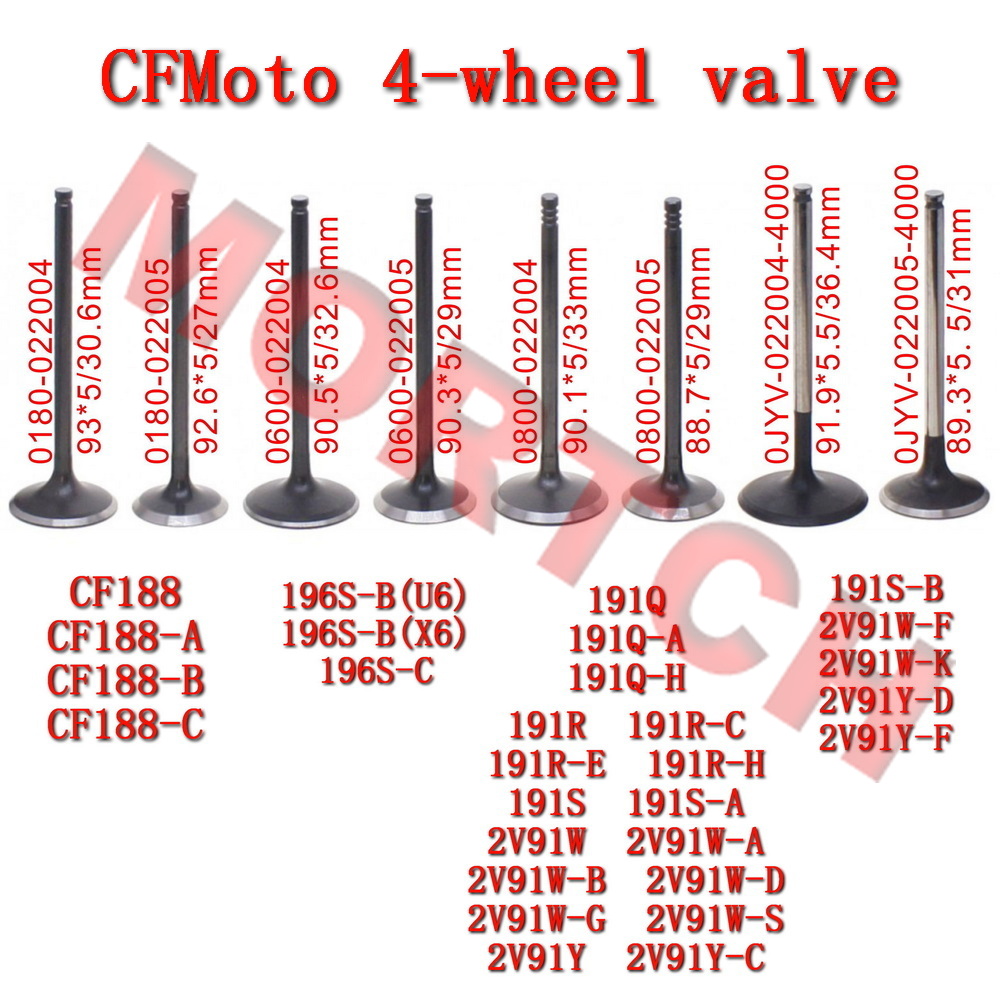
Fits CF Moto 600cc / 625cc X6, U6, Z6 Series Models
This inlet and exhaust valve set is a high-quality OEM replacement part for CF Moto engine valve trains. The intake valve controls the air/fuel mixture entering the cylinder, while the exhaust valve controls the expulsion of combustion gases. The set includes 2 intake valves and 2 exhaust valves, directly replacing OEM part numbers 0600-022004 (intake) and 0600-022005 (exhaust).
The valves are made from high-quality heat-resistant alloy steel with precision machining and surface treatment, offering excellent wear resistance, high-temperature resistance, and impact strength. Fits CF Moto 600cc/625cc engines equipped with 196S series in X6, U6, and Z6 models.
Specifications:
| Parameter | Intake (0600-022004) | Exhaust (0600-022005) |
|---|---|---|
| Overall Length | 90.5mm | 90.3mm |
| Stem Diameter | 5mm | 5mm |
| Head Diameter | 32.6mm | 29mm |
✨ OEM Quality: Made from high-quality heat-resistant alloy steel with precision machining and surface hardening, offering excellent wear resistance, high-temperature resistance, and impact strength for reliable valve train operation.
- ATV CF600-B X6 196S-B(X6)
- ATV CF600-C X6 196S-B(X6)
- ATV CF625-2 X6 196S-B(X6)
- ATV CF625-2A X6 196S-B(X6)
- ATV CF625-B X6 196S-B(X6)
- ATV CF625-C X6 196S-B(X6)
- UTV CF600-5 UForce U6 196S-B(U6)
- SSV CF600-3 Z6 196S-C
- SSV CF600-6 Z6 196S-C
- SSV CF625-3 Z6 196S-C
- SSV CF625-6 Z6 196S-C
📌 Compatibility Note: This valve set fits all CF Moto X6, U6, and Z6 series models listed above, equipped with 196S series 600cc/625cc engines.
- Direct OEM Replacement: Perfectly matches CF Moto OEM part numbers 0600-022004 and 0600-022005 for precise fitment.
- High-Quality Heat-Resistant Alloy Steel: Made from premium heat-resistant alloy steel to withstand high-temperature, high-pressure operating conditions.
- Precision Machining: Valve stems are precision ground, valve faces precision lapped for optimal sealing.
- Surface Hardening: Valve heads and stem tips are hardened for excellent wear resistance and long service life.
- Critical Valve Train Component: Ensures accurate intake and exhaust timing, maintaining engine performance and fuel economy.
Follow these steps to replace the inlet and exhaust valves and ensure proper valve train operation. This procedure requires specialized tools and skills — professional installation is highly recommended.
🔧 Pre-Installation Preparation
- Confirm the new valves are 0600-022004 (Intake, 2pcs) and 0600-022005 (Exhaust, 2pcs).
- Prepare a valve spring compressor tool, valve grinding tools, torque wrench, clean rags, and lubricating oil.
- Ensure the engine is cooled and remove the cylinder head to access the valve train.
🔄 Step 1: Remove the Old Valves
- Using a valve spring compressor tool, compress the valve spring.
- Remove the valve keepers (valve locks) and carefully release the spring tension.
- Remove the old valves from the bottom of the cylinder head, distinguishing between intake and exhaust valves.
- Inspect the valve guides for wear — replace if necessary.
- Clean the cylinder head valve seat area, removing carbon deposits and old seal residue.
🔧 Step 2: Lap the Valve Seats (Recommended)
- Apply a small amount of valve lapping compound to the valve sealing face.
- Insert the valve into the valve guide and use a lapping tool to rotate the valve back and forth against the seat.
- Periodically check the sealing face until a uniform gray sealing band is achieved.
- Thoroughly clean the valve and valve seat, removing all lapping compound residue.
- ⚠️ Critical Step: Ensure the sealing surfaces are completely clean — residual lapping compound will cause poor sealing.
🧽 Step 3: Install the New Valves
- Remove the new valves from their packaging and apply a small amount of oil to the valve stems for lubrication.
- Install the intake valve (0600-022004) on the intake side and the exhaust valve (0600-022005) on the exhaust side.
- Install the valve springs and valve keepers.
- Use a valve spring compressor tool to install the keepers, ensuring they are fully seated in the valve stem grooves.
- After installation, manually rotate the valves to confirm smooth rotation with no binding.
✅ Step 4: Post-Installation Check
- Reinstall the cylinder head and other components according to factory specifications.
- Adjust valve clearance to the standard values specified in the service manual.
- Start the engine and check for any unusual noises or rough running.
- Take a test ride to confirm restored engine power and smooth operation.
- Record the replacement mileage and date for future maintenance reference.
💡 Installation Key Points
- It is recommended to replace valve stem seals and guides simultaneously when replacing valves.
- Always lap the valve seats before installation to ensure proper sealing.
- Pay attention to intake/exhaust valve distinction — do not mix them up.
- Valve clearance must be adjusted to specification after installation.
- If you are not experienced with engine assembly, we strongly recommend professional installation.
- Please verify that this part fits your specific vehicle model and year. Many vehicles share similar names but use different components depending on year or market region.
- We strongly recommend cross-checking with your vehicle's owner's manual or contacting us for confirmation before placing your order.
- Product images, measurements, and descriptions are for reference only. Slight variations in color or appearance may occur due to manufacturing batches or photography lighting—functional specifications remain identical to the ordered part.
- Professional installation is mandatory. Mortch Motor assumes no liability for damages, injuries, or losses resulting from improper installation, misuse, unauthorized modification, or abnormal operation.
- All listed prices EXCLUDE shipping costs, import duties, taxes, and customs clearance fees. These charges (if applicable) are determined and collected by your local customs authority and are solely the buyer's responsibility.
- In case of return due to unpaid duties/taxes or refusal to clear customs, the buyer shall bear the original shipping cost, return shipping fees, and any associated administrative charges deducted from the refund.
 Thank You
 Please tell your friends about our Inlet/Exhaust Valve
Related Products
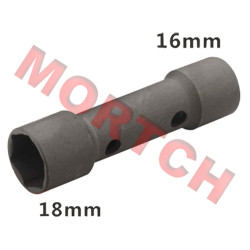
Double End Spark Plug Socket
MIYCH-01027
Motorcycle Spark Plug Socket Wrench 16mm/18mm For Spark Plug Removal and Installation ..
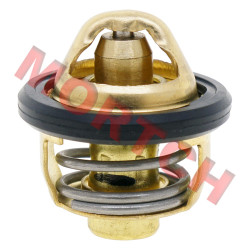
Thermostat
MICF0180-022810
CFMoto Thermostat | w/ Linhai Cross-ReferenceReplaces OEM 0180-022810 / CF188-022810 | Linhai 35171 ..

Water Outlet Joint
MICF01A0-022200
CFMoto Water Outlet Joint Replaces OEM 01A0-022200 (Old # 1P72MM-022200) Mounting Hole Spacing..
O-Ring 40X2.4
MICF0180-022011
CFMoto O-Ring 40x2.4mm Replaces OEM 0180-022011 (Old # CF188-022011) Size: 40mm x 2.4mm (OD x ..
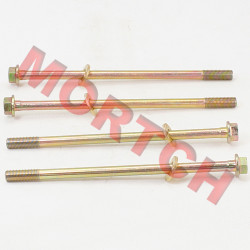
Cylinder Bolts
MICF0180-02201E
CFMoto Cylinder Bolt Set M10×1.25 | w/ Linhai Cross-ReferenceLeft Bolt: CF188-022012 / 0180-022012-0..
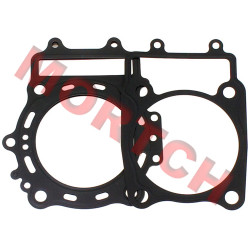
Cylinder Gasket
MICF0600-02300A
CFMoto 196S Cylinder Gasket and Cylinder Head GasketFor 4-Stroke Liquid Cooled 196S EngineIncludes C..
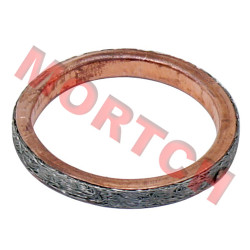
Gasket for Exhaust Pipe
MICF0180-022300
CFMoto Exhaust Pipe Gasket Replaces OEM 0180-022300 (Old # CF188-022300) Size: φ42 × 35 × 5mm ..
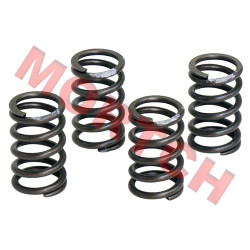
Valve Spring
MICF0180-022006-0050
CFMoto Valve Spring | w/ Linhai Cross-ReferenceReplaces OEM CF188-022006 / 0180-022006-0050 | Linhai..
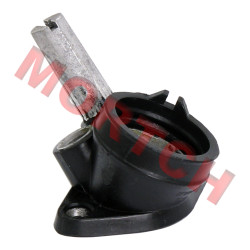
Injector Seat Comp.
MICF018B-022900
CFMoto Injector Seat Assembly OEM Part Number 018B-022900 (Old P/N: CF188-B-022900) ..
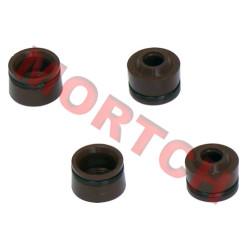
Valve Stem Seal Ring Set
MICF0010-022500-10000
CFMoto Valve Stem Seal Ring SetReplaces OEM 0010-022500 (Old # 152MI-022500)Packaging: 4pcs/PackFits..
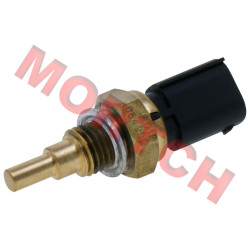
Water Temperature Sensor
MICF018B-022810
CFMoto Coolant Temperature Sensor OEM: 018B-022810 | Bosch: F01R064905 Specifications: M12 Thr..
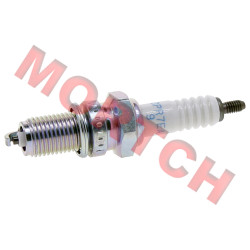
NGK Spark Plug DPR7EA
MICF0110-022400
CFMoto / Linhai Spark Plug — OEM Quality Replacement | Includes Linhai Cross-Reference CFMoto Par..
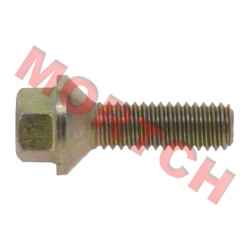
Screw M6x25
MICF0180-022010-0010
CFMoto Carburetor Adapter Screw M6×1.0×25 Replaces OEM 0180-022010-0010 Specs: M6 × 1.0 × 25mm..
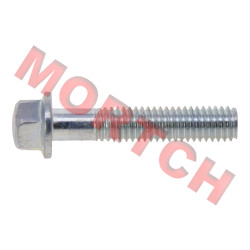
Bolt M6x30
MICF0010-060012-0010
CF Moto Bolt M6*1.0*30 OEM Part Number: 0010-060012-0010 (Old # 0010-060012-0030) Specificatio..
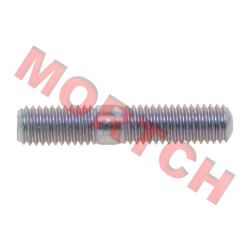
Stud
MICF0180-022003-00002
CFMoto Cylinder Head & Exhaust Pipe Stud M8×1.25×42 Replaces OEM 0180-022003-00001 Specs: M8 ×..
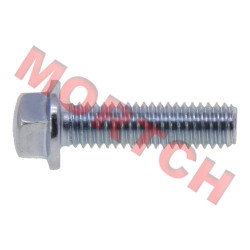
Bolt M6*1.0*22
MICF0010-080013-0010
CF Moto Bolt M6*1.0*22 Part Number: 0010-080013-0010 Specification: M6 x 1.0 x 22 mm | General..
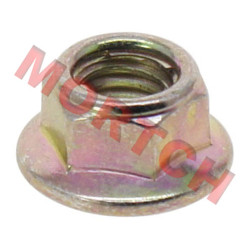
Flange Nut M8
MICF0010-011700-0010
CFMoto Flange Nut M8 OEM Part Number 0010-011700-0010 M8 flange nut with integrated washer, fi..