
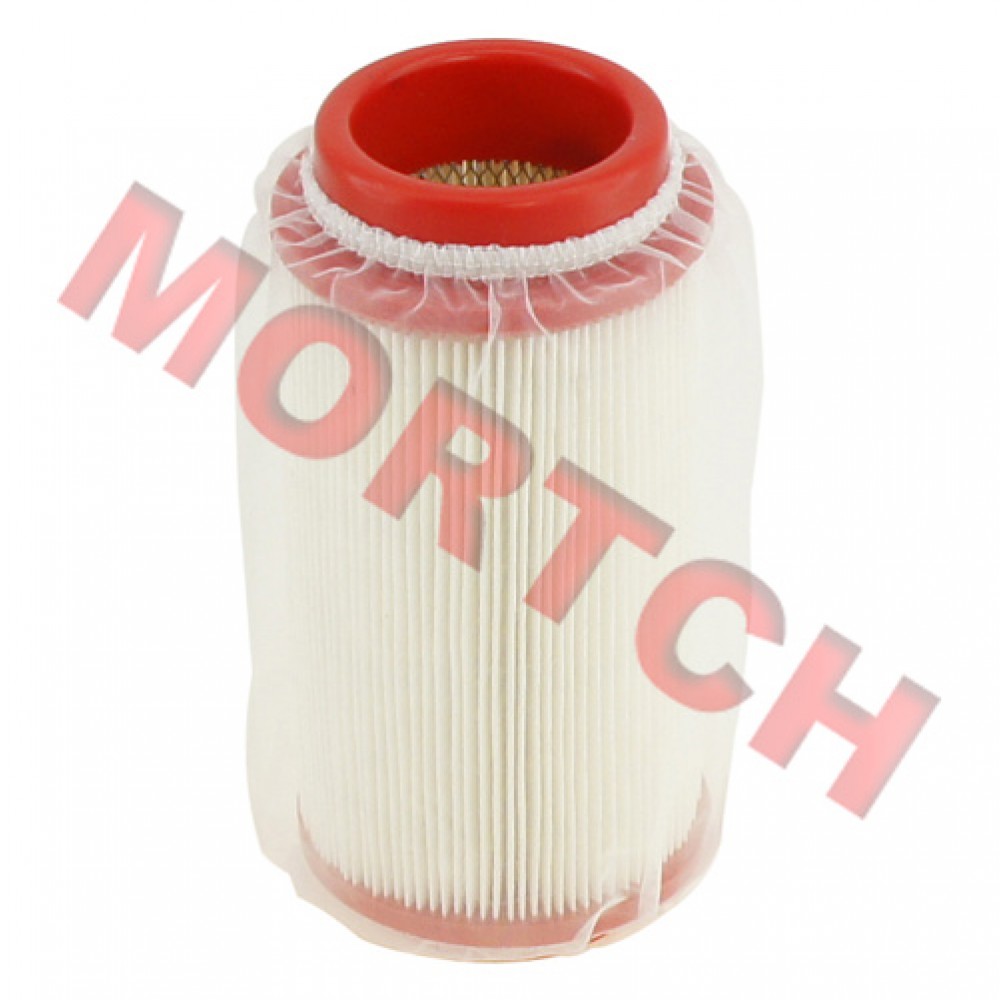
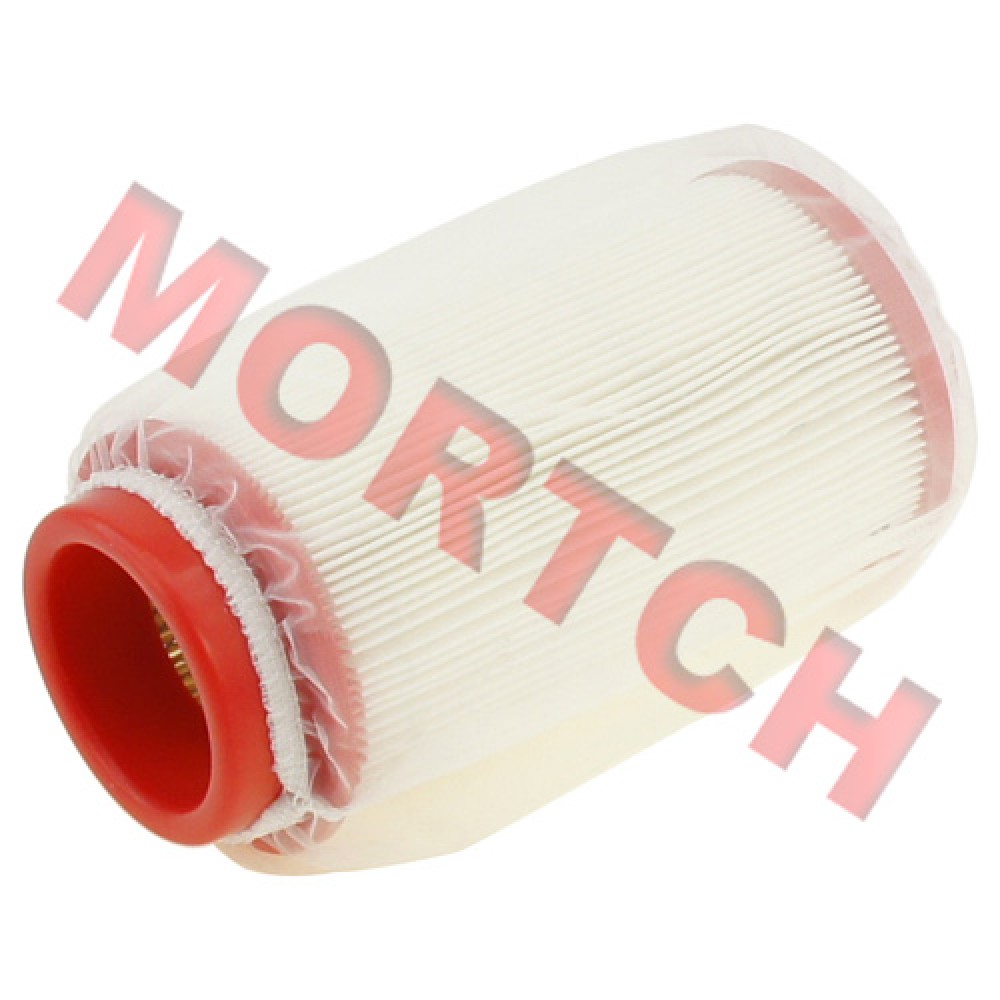

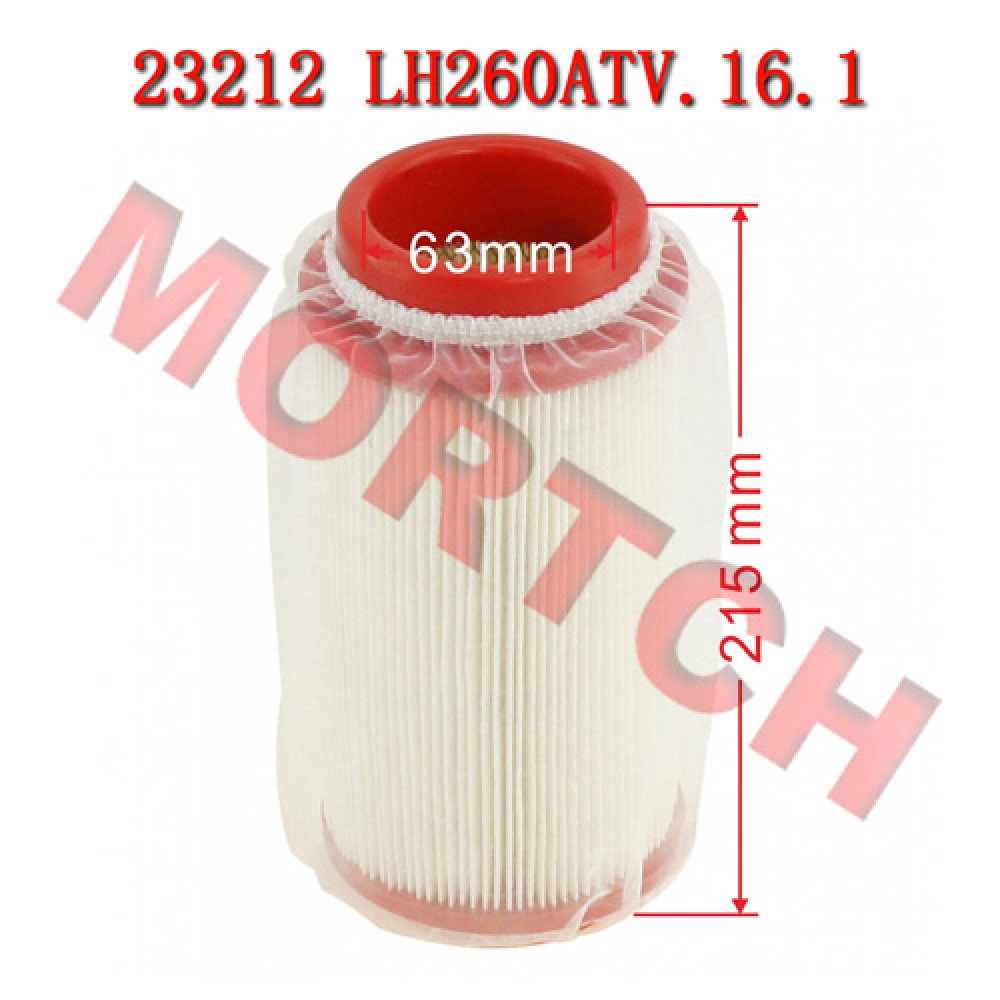
Linhai 260 300 400 Element Comp Air Cleaner
- Brand: Mortch Motor
- Product Code: MILH260ATV.16.1
- Product Viewed: 532
- Availability: In Stock
- Weight: 0.24kg
US$8.50 1 SOLD
-
- 50 or more US$4.25
| Shipping To: |
Air Filter Foam Insert & Screen
Fits Linhai 260-400cc ATV Models
Let Your ATV Breathe · Easier Starting · Smoother Running
Let your ATV breathe by replacing your dirty air filter foam insert. A clean air filter element helps your scooter or ATV start easier and run smoother.
✨ OEM Quality: Manufactured to exact original specifications using quality foam materials, ensuring good filtration and airflow.
✔️ Fits the following models:
- Linhai 370 PROMAX T3b
- Linhai 420 PROMAX T3b
- Linhai 260
- Linhai 300 E2
- Linhai 400 E4
- Linhai 300 T3b EFI
- Linhai 300 T3b
- Linhai 400 2B IRS
- Linhai 400 E2
- Filters dust and debris from intake air
- Protects engine from wear
- Improves airflow, enhances performance
- Easier starting, smoother operation
- Direct replacement for worn original filter
📌 Maintenance Tip:
Regularly inspect and clean your air filter element. In dusty riding conditions, check more frequently. Replacing a dirty filter can extend engine life and improve performance.
Follow these steps to replace the air filter foam insert and screen. This is a simple DIY procedure that requires no special skills.
🔧 Preparation
- Ensure the vehicle is turned off and cooled down; the engine should be at room temperature.
- Prepare a Phillips screwdriver or socket wrench (depending on the air box fastening) and a clean rag.
- Choose a clean, dust-free work area to prevent debris from entering the intake system.
- Prepare foam filter oil if applicable for your filter type.
🔄 Step 1: Remove the Old Air Filter
- Locate the air filter box (usually under the seat or at the front of the vehicle).
- Remove the screws or release the clips securing the filter cover, and carefully remove it.
- Remove the old foam insert (23212 / LH260ATV.16.1), noting its installation orientation.
- Inspect the inside of the air box for dust, leaves, or debris, and clean it using a damp cloth or vacuum.
- ⚠️ Caution: Be careful not to shake dust into the intake duct (the hose leading to the engine).
🧽 Step 2: Prepare the New Foam Filter
- Remove the new foam insert (23212 / LH260ATV.16.1) from its packaging and check for any damage or deformation.
- If applicable, apply specialized foam filter oil evenly to the filter, gently squeezing to distribute the oil.
- Note: Do not over-oil, as this may restrict airflow or contaminate sensors.
✅ Step 3: Install the New Filter and Screen
- Following the same orientation as the old filter, place the new foam insert into the air box.
- Ensure the filter sits flush with the box edges, with no gaps or twisting.
- Position the filter screen (23213 / LH260ATV.16.7) over the opening, ensuring the sealing edge aligns properly.
- Secure the screen with screws or clips, ensuring a tight seal.
🔍 Step 4: Post-Installation Check
- Inspect around the screen for any gaps, confirming it is properly seated.
- Start the engine and let it idle for a moment; listen for any unusual intake noises or air leaks.
- It is recommended to record the replacement date and mileage for future maintenance reference.
💡 Maintenance Tips
- Foam filters can be cleaned and reused with specialized cleaner and filter oil.
- It is recommended to inspect the filter every 1,000–2,000 km or during each service.
- In dusty environments, shorten the inspection and cleaning interval.
- When cleaning, use warm water and specialized cleaner, air dry naturally before re-oiling. Never use compressed air to dry.
- Please verify that this part fits your specific vehicle model and year. Many vehicles share similar names but use different components depending on year or market region.
- We strongly recommend cross-checking with your vehicle's owner's manual or contacting us for confirmation before placing your order.
- Product images, measurements, and descriptions are for reference only. Slight variations in color or appearance may occur due to manufacturing batches or photography lighting—functional specifications remain identical to the ordered part.
- Professional installation is mandatory. Mortch Motor assumes no liability for damages, injuries, or losses resulting from improper installation, misuse, unauthorized modification, or abnormal operation.
- All listed prices EXCLUDE shipping costs, import duties, taxes, and customs clearance fees. These charges (if applicable) are determined and collected by your local customs authority and are solely the buyer's responsibility.
- In case of return due to unpaid duties/taxes or refusal to clear customs, the buyer shall bear the original shipping cost, return shipping fees, and any associated administrative charges deducted from the refund.
 Thank You
 Please tell your friends about our Linhai 260 300 400 Element Comp Air Cleaner
Related Products
Linhai YP250 Engine Hanger Bush
MIYP250-5058
Engine Hanger Bush Fits Yamaha YP250 / Linhai VOG 250-300cc Engines OEM Specificat..
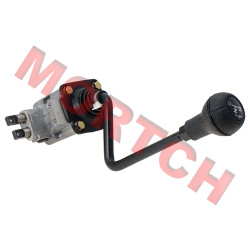
Linhai 300 400 Shifter Assy Mounting
MILH260ATV.18.1a
Linhai Shifter Mounting BracketFits Linhai 260cc/300cc/400cc ATV ModelsPart Number: 21729B / LH260AT..
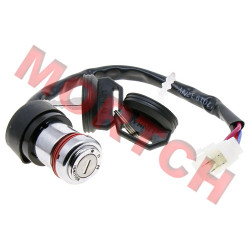
LH260 LH300 LH400 Ignition Switch With Key
MILH260ATV.19.9B
Ignition Switch With KeyFits Linhai LH300 / LH400 Liquid Cooled 4-Stroke ATVPart Number: 30110 / LH2..
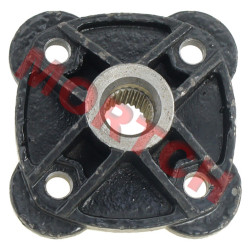
Linhai LH260 LH300 LH400 Rear Wheel Hub
MILH300CUV.7-2
Wheel HubFits Linhai ATV 260 / 300 / 400 ModelsPart Number: 26950 / LH300CUV.7-2📋 OverviewWheel Hub ..
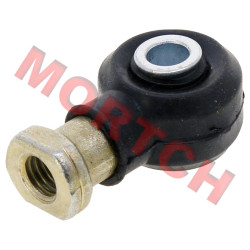
Linhai Tie Rod End B (Right)
MILH260ATV.1.7.2-4
Tie Rod End B (Right)Fits Linhai LH300 / LH400 Liquid Cooled 4-Stroke ATVPart Number: 20507 / LH260A..
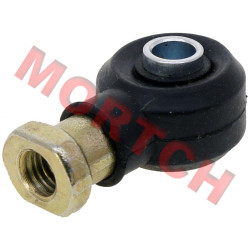
Linhai Tie Rod End A (Left)
MILH260ATV.1.7.2-1
Tie Rod End A (Left)Fits Linhai LH300 / LH400 Liquid Cooled 4-Stroke ATVPart Number: 20503 / LH260AT..
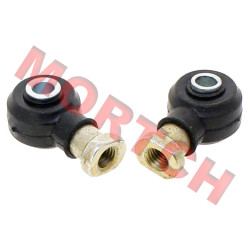
Linhai Tie Rod End A + B
MILH260ATV.1.7.2-A2
Left & Right Tie Rod End Set Fits Linhai LH300 / LH400 Liquid Cooled 4-Stroke ATV Includes Bot..
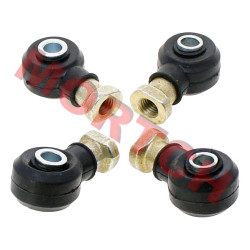
Linhai Tie Rod End A + B
MILH260ATV.1.7.2-A4
Left & Right Tie Rod End Set (2 Each Side) Fits Linhai LH300 / LH400 Liquid Cooled 4-Stroke ATV ..